How to Create Volume Snapshots
Snapshots are useful when performing system updates. If an update goes awry, you can choose to revert the snapshot to a previous point in time.
Please refer to the steps below on the instructions for creating a volume snapshot. Note that if the virtual machine you are working with has more than one volume, you might want to snapshot every volume that may be affected by an update.
1. Sign-in to the VHI dashboard.
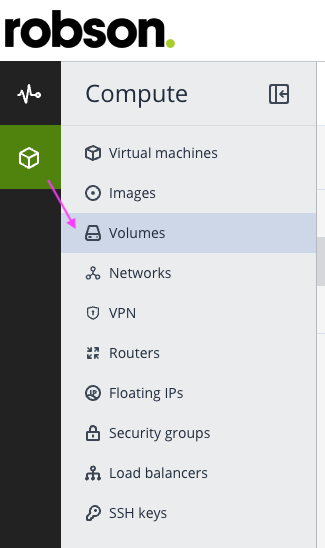
2. Click on the Compute icon and click on Volumes.
3. Refer to the "Attached to" tab which lists the virtual machine that is associated with a respective volume. In the example image below, the volume "Demo/Windows Server 2022..." is associated with a virtual machine named "Demo" :
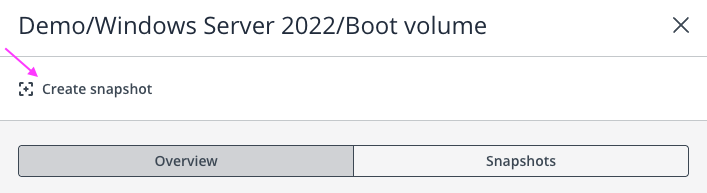
4. Click on the volume associated with the virtual machine that you wish to take a snapshot for. Once you have clicked on the volume, a fly-out pane will appear which shows the details and properties of the volume. Click on Create snapshot to create a point-in-time snapshot of the virtual machine.
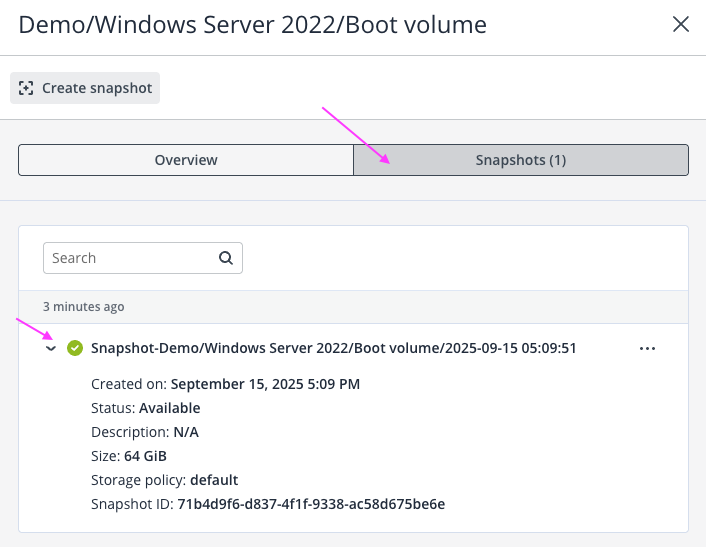
5. Once the snapshot has been created, click on the Snapshots tab to view the snapshot (and any other previous snapshots). You can view additional details on the snapshot by clicking on the > icon.
6. To revert the snapshot, click on the ... icon and choose Revert to snapshot.

The virtual machine needs to be powered off before you can revert a snapshot, otherwise the option will be greyed out. It is also recommended to delete snapshots when they are no longer required.
Related Articles
How to Create and Assign Security Groups
Security groups control inbound and outbound traffic to your virtual machines, effectively acting as virtual firewalls. When you provision a new virtual machine, it’s automatically assigned the default security group, which allows all inbound and ...How to Create and Manage Virtual Private Networks
Create a virtual private network A private network is ideal when managing multiple servers that require internal communication—such as database, application, and web servers—without exposing them to the public Internet. This setup enhances security ...How to Deploy a Windows Virtual Machine
1. Sign-in to your VHI dashboard. 2. Navigate to the Compute > Virtual machines section. 3. Click on + Create virtual machine. 4. Supply a name for the machine. 5. Next to Image, click Specify to choose a Windows image from the selection page ...