How to Deploy a Windows Virtual Machine
1. Sign-in to your VHI dashboard.
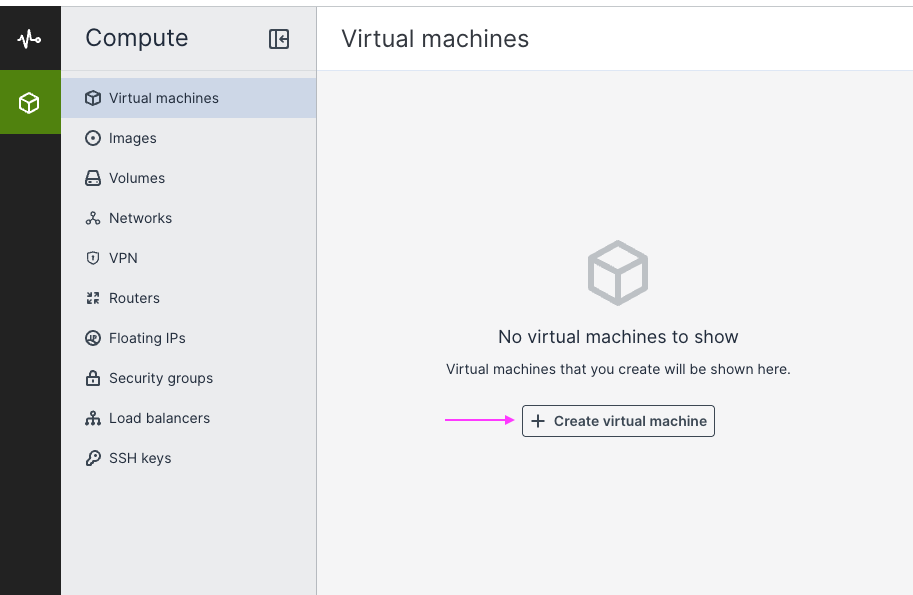
2. Navigate to the Compute > Virtual machines section.
3. Click on + Create virtual machine.
4. Supply a name for the machine.
5. Next to Image, click Specify to choose a Windows image from the selection page (example: Windows Server 2022).
6. Next to Volumes, click Specify if you wish to change the assigned storage from 64GB to your chosen value.
7. Next to Flavor, click Specify to select a flavor with the "Windows Server" placement, or select "Microsoft SQL Server" if the Windows Server will be running Microsoft SQL Server (a non-express edition).

A flavor is the assigned maximum vRAM and CPU that a virtual machine will be able to use.
8. Next to Network Interfaces, click Specify to assign a network interface.
- On the network page, click + Add to bring up the network selection.
- By default, there is a "public" network available which will assign a direct public IP address via the built-in DHCP service. If you wish to put the virtual machine behind a private IP network, please see: https://hello.robsoninc.com/portal/en/kb/articles/private-networks.
- If you wish to allow all port access to the virtual machine, leave the default security group in place. If you wish to restrict port access and inbound IP addresses, please see this page and create a security group before proceeding further: https://hello.robsoninc.com/portal/en/kb/articles/how-to-create-and-assign-security-groups
- Click Add to apply the changes and then click Done.
9. Click on Deploy to deploy the virtual machine.
You may need to wait a few minutes for the machine to be provisioned. Try to refresh the page if there is no status update.
10. Once the virtual machine is deployed, click on the virtual machine to bring up a fly-out menu.
11. Click on Console to open a window into the virtual machine.
12. Proceed through the initial Windows setup prompts, and set a password for your Administrator account.
Related Articles
How to deploy the Acronis Cyber Protect Agent
Windows Devices 1. Sign-in to the Acronis Cyber Protect dashboard (e.g. https://ca01-cloud.acronis.com/) with your account. 2. Navigate to Devices > All devices. 3. Click the + Add button on the top right corner of the dashboard to add a device. 4. ...How to Create and Manage Virtual Private Networks
Create a virtual private network A private network is ideal when managing multiple servers that require internal communication—such as database, application, and web servers—without exposing them to the public Internet. This setup enhances security ...How to Create Volume Snapshots
Snapshots are useful when performing system updates. If an update goes awry, you can choose to revert the snapshot to a previous point in time. Please refer to the steps below on the instructions for creating a volume snapshot. Note that if the ...How to Create and Assign Security Groups
Security groups control inbound and outbound traffic to your virtual machines, effectively acting as virtual firewalls. When you provision a new virtual machine, it’s automatically assigned the default security group, which allows all inbound and ...