How to Create and Manage Virtual Private Networks
Create a virtual private network
A private network is ideal when managing multiple servers that require internal communication—such as database, application, and web servers—without exposing them to the public Internet. This setup enhances security by reducing the need to configure security groups for each server, and simplifies internal data exchange.
1. Sign in to your VHI dashboard.
2. From the Compute section, navigate to Networks and click on + Create network.
3. On the Network configuration page, specify a name for the network and click Next to proceed. It is recommended to keep "IP Address management" enabled.
4. On the IP address management page, click Add > IPv4 subnet.
5. On the new page, define a CIDR and gateway.

It is recommended to keep "Built-in DHCP server" enabled, which will allow the native DHCP service to automatically assign IP addresses whenever a new virtual machine is created.
6. Next to Allocation pools, click Add to specify the Allocation pool(s).
The allocation pools are from where the DHCP service will allocate IP addresses from. You can have one or more pools, however the IP addresses need to reside within the specified subnet.
7. Next to DNS servers, click Add to specify one or more DNS servers.
The example image below shows the Google and Cloudflare DNS servers being used. You might need to specify different DNS server(s), such as Active Directory DNS servers. These will be applied via the DHCP service.
8. Click on Add to apply the configuration.
9. Proceed to the next section to create a virtual router in order to provide outbound Internet access for your private network.
Create a virtual router
A virtual router can provide NAT services for your private network or route traffic to other private networks. It also serves as the default gateway for your private network.
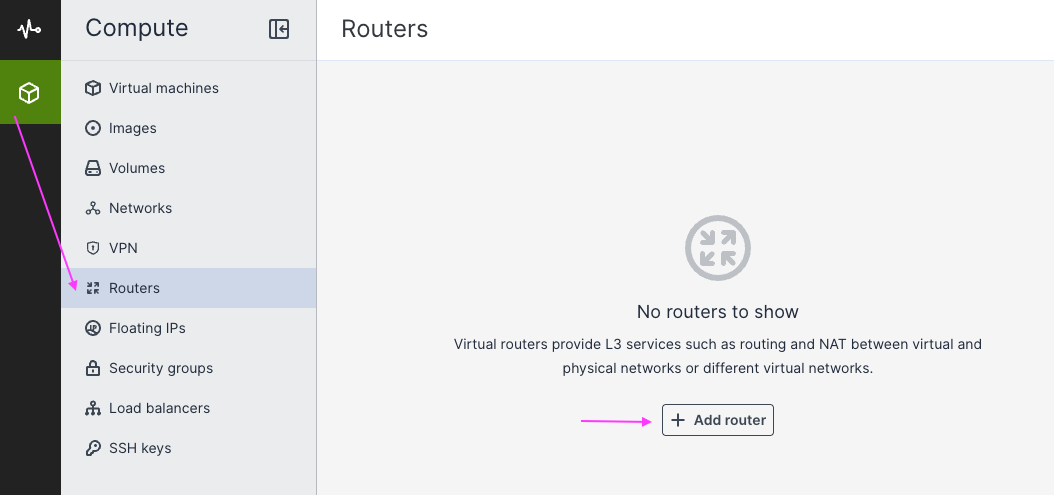
1. Sign in to your VHI dashboard.
2. From the Compute section, navigate to Routers and click on + Add router.
3. Define a name for your virtual router.
4. From the network drop down, choose the "public" network.
5. Ensure SNAT is selected if you want your private network to have Internet access.
With SNAT enabled, the router replaces VM private IP addresses with the public IP address of its external gateway. This allows virtual machines located in virtual networks to communicate with physical networks and the Internet.
6.Under Add internal interfaces, select the private network that you created previously.
7. Click Create to provision your virtual router.
Related Articles
How to Deploy a Windows Virtual Machine
1. Sign-in to your VHI dashboard. 2. Navigate to the Compute > Virtual machines section. 3. Click on + Create virtual machine. 4. Supply a name for the machine. 5. Next to Image, click Specify to choose a Windows image from the selection page ...How to Create Volume Snapshots
Snapshots are useful when performing system updates. If an update goes awry, you can choose to revert the snapshot to a previous point in time. Please refer to the steps below on the instructions for creating a volume snapshot. Note that if the ...How to Create and Assign Security Groups
Security groups control inbound and outbound traffic to your virtual machines, effectively acting as virtual firewalls. When you provision a new virtual machine, it’s automatically assigned the default security group, which allows all inbound and ...How to deploy the Acronis Cyber Protect Agent
Windows Devices 1. Sign-in to the Acronis Cyber Protect dashboard (e.g. https://ca01-cloud.acronis.com/) with your account. 2. Navigate to Devices > All devices. 3. Click the + Add button on the top right corner of the dashboard to add a device. 4. ...